

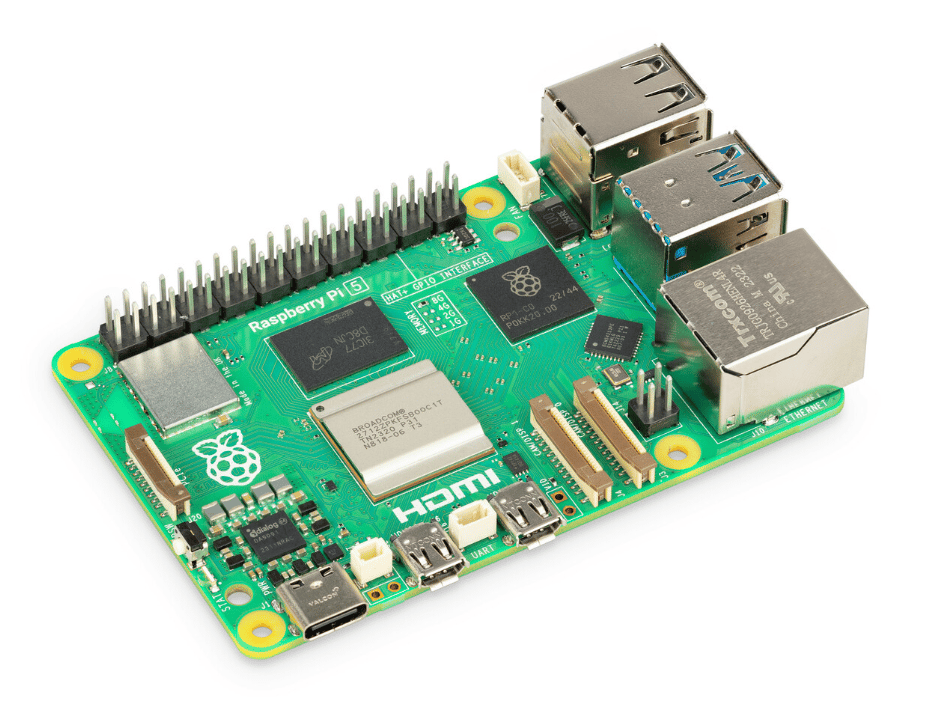
rootfsB partition and pre‑enable headless SSH/Wi‑Fi before flashing.
Raspberry Pi 5 uses a Pi firmware boot chain loading from the FAT boot partition. For OTA A/B, set the bootloader in the Thistle config to
RaspberryPi. Depending on the distro, the boot partition may be mounted at /boot or /boot/firmware.Board setup (vendor/community docs)
- Official imaging: Raspberry Pi Imager (“Use custom” supports local images)
- General microSD flashing workflow: Prepare microSD
Quick path: File updates (no A/B)
Use Thistle’s file‑update mode to ship signed files and app bundles without changing partitions.- Download tools
- Workstation (TRH):
- Device (TUC on RPi5, aarch64):
- Initialize and release a simple file update on the workstation
- Copy config to device and run client
Optional: Headless image prep (Raspberry Pi OS Bookworm, 64‑bit)
Prepare a Raspberry Pi OS image before flashing: createrootfsB, enable SSH, preconfigure Wi‑Fi, and set hostname. Docker is optional; any live Linux works.
1. Download the image
2. Start a Linux environment in Docker (optional)
3. Expand image size & map partitions
4. Resize rootfs (p2) to 6 GiB (example)
5. Create & format rootfsB
6. Enable headless SSH + Wi‑Fi
Mount rootfs and boot partitions:a) Enable SSH at boot (RPi OS mechanism)
b) Configure Wi‑Fi (wpa_supplicant via boot)
c) (Optional) Pre‑create a user for headless login
On recent Raspberry Pi OS releases, a user is required. Either use Raspberry Pi Imager’s customization to set username/password, or adduserconf.txt to the boot partition with a SHA‑512 hashed password:
d) Set hostname
7. Flash to SD
- Using Raspberry Pi Imager: select “Use custom” and choose
rpi5.img. - Or on macOS:
8. First boot
- Partitions:
- p1 → boot (FAT)
- p2 → rootfs (6 GiB ext4)
- p3 → rootfsB (ext4, label
rootfsB)
- SSH enabled automatically if
sshfile present - Wi‑Fi auto‑connects if
wpa_supplicant.confwas provided - Hostname set to
rpi5(unless changed)
Thistle Tools
On the workstation and the device, download TRH/TUC as appropriate, then export your Project Access Token on the workstation.Initialize and Prepare Rootfs Release
Device Configuration
Createtuc-config.json (adjust paths if your boot is /boot/firmware):
/boot:
Run Update
Notes and Tips
- If your distro mounts the boot partition at
/boot/firmware, pointpersistent_directorythere. - For headless provisioning on Bookworm, Raspberry Pi Imager customization is the simplest route (set SSH, Wi‑Fi, user, hostname). Manual
ssh+wpa_supplicant.confstill works and is widely documented. - For more background on headless setup nuances on Bookworm vs Bullseye, see community articles (e.g., first‑run mechanisms and
userconf.txt).