

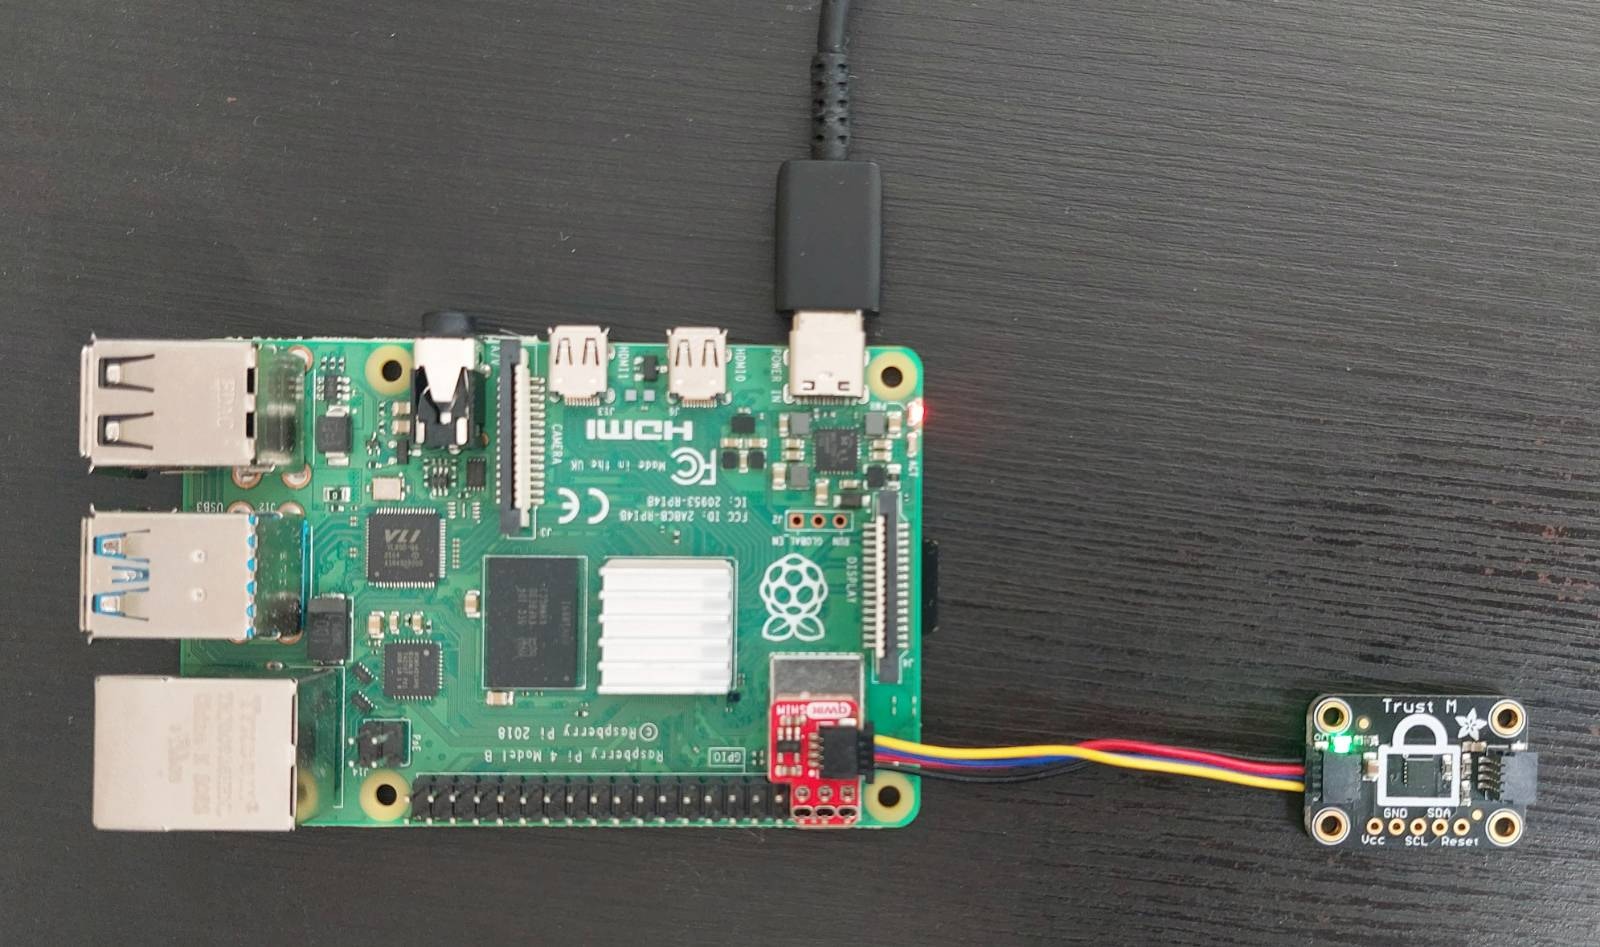
In this example we will build a Raspberry Pi image containing the linux-optiga-trust-m tooling. The toolkit will be directly installed and usable on your Raspberry Pi 4, so that you can explore the features offered by the platform. This versatile platform is directly usable, and will allow you to implement many security solutions such as device authentication, secure communications. Using Thistle Yocto Build, it is very easy to build fully usable images directly with Yocto. For this example we will use a Raspberry Pi 4 as a target platform, and connect it to a Adafruit Infineon Trust M Breakout Board with a Qwiic adapter from Sparkfun. "RPi-4 with Trust M"

Tools needed

To get started you need to obtain a few dependencies and the Thistle Yocto Build binary. Note that the build system only supports x86_64 hosts.

Build the project

To quickly get started, we can use the gen-config option of thistle-yocto-build. This will generate the default configuration for the Raspberry Pi 4.
We now need to amend the configuration, so that the trust-m package provided by meta-thistle will be built and installed on the target. We also enabled i2c on the Raspberry Pi, and enabled automatic loading of the i2c kernel module.
We can now build the image! Building this image takes approximately 60 minutes on a Ryzen5 3600, and requires ~50GB of free storage. This build will be performed in debug mode, with SSH enabled.

Connect breakout board and copy image

Once the build is finished, boot the built image by copying it onto your Raspberry Pi 4 SD card:

Execute Trust M tooling

We can now connect the Raspberry Pi 4, and test the Trust M tooling!

Next Steps