

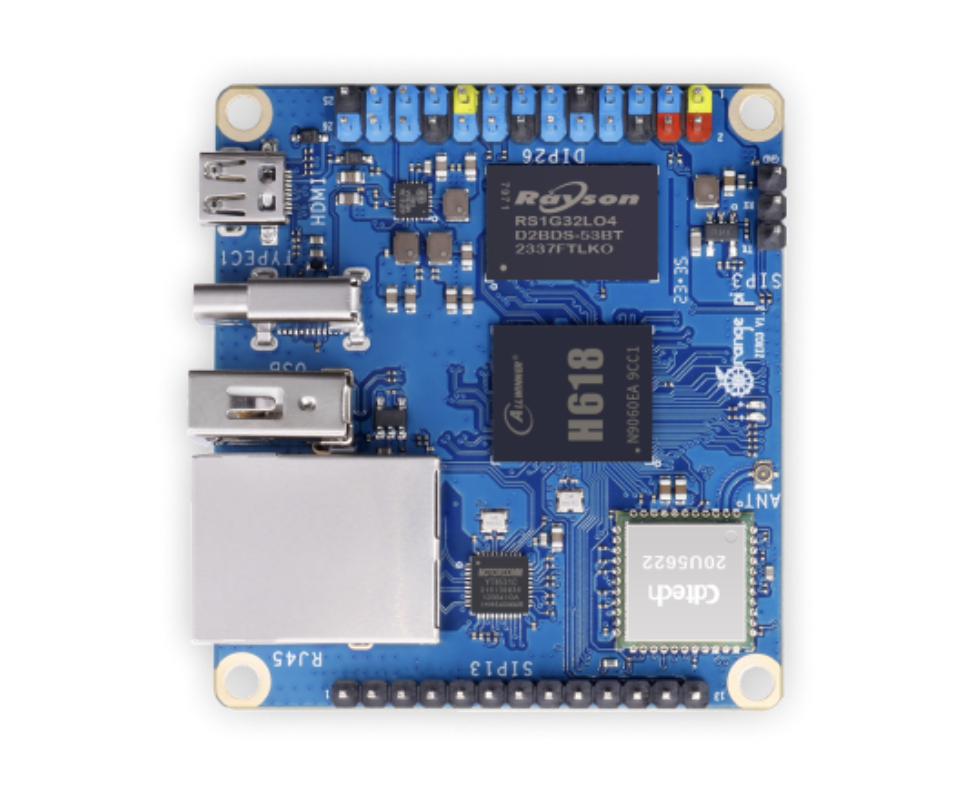
Orange Pi Zero 3 uses Allwinner H618. Community images vary. Ensure you use a Linux image with U‑Boot and device tree overlays for I²C/SPI when needed. See community pinouts and I²C overlay guidance for related boards for enabling buses when integrating peripherals.
Board setup (vendor/community docs)
- General Orange Pi OS preparation and flashing microSD: Orange Pi guide – prepare microSD
Default Credentials
Login to your Orange Pi over serial or SSH using these defaults:- Orange Pi OS (official):
oem/oem(default hostname:orange-os.local)
Prerequisites
- Orange Pi Zero 3 with power supply and microSD card
- Linux image (Ubuntu/Debian/Armbian‑based)
- Network access
- Linux/macOS workstation
Quick path: File updates (no A/B)
Use Thistle’s file‑update mode to ship signed files and app bundles without changing partitions. On Orange Pi OS the boot partition is mounted at/boot; use that as the persistent directory.
- Download tools
- Workstation (TRH):
- Device (TUC on Zero 3, aarch64):
- Initialize and release a simple file update on the workstation
- Copy config to device and run client
Optional: Verify A/B partitions (if present)
Most Orange Pi OS images do not provision A/B partitions by default. If you’ve already createdrootfsB (e.g., via the headless prep below) or your image includes it, SSH in and verify partitions:
- p1 (vfat) mounted at
/boot - p2 (ext4) mounted at
/ - p3 (ext4, label often
rootfsB) present for A/B updates
If
rootfsB is missing, follow the headless image prep section below to create it (resize rootfs and add a new rootfsB partition), then return here to verify.Optional: Headless image prep (Orange Pi OS, aarch64)
Prepare an Orange Pi OS (aarch64) image before flashing: createrootfsB, enable SSH, preconfigure Wi‑Fi via NetworkManager, and set hostname. Docker is optional; any live Linux works.
1. Download the image
2. Start a Linux environment in Docker
3. Expand image size & map partitions
4. Resize rootfs (p2) to 6 GiB
5. Create & format rootfsB
6. Enable headless SSH + Wi‑Fi
Mount rootfs:a) Enable SSH at boot
b) Add your SSH key
c) Configure Wi‑Fi (NetworkManager profile)
d) Set hostname (optional)
7. Cleanup
8. Flash to SD (on macOS host)
9. First boot
- Partitions:
- p1 → boot (FAT)
- p2 → rootfs (6 GiB ext4)
- p3 → rootfsB (ext4, label
rootfsB)
- SSH enabled automatically
- Wi‑Fi auto‑connects to your SSID
- Hostname set to
orangepi(or your choice)
Thistle Tools
On the workstation and the device, download TRH/TUC as appropriate, then export your Project Access Token on the workstation.Initialize and Prepare Rootfs Release
Device Configuration
Createtuc-config.json:
On Orange Pi OS, the boot chain typically uses U‑Boot; set
bootloader to Thistle-U-Boot. Verify device nodes with lsblk and adjust part_a/part_b if yours differ./boot:
Run Update
Notes and Tips
- Verify which storage node your rootfs partitions use (
/dev/mmcblk0p2,/dev/mmcblk0p3).
References
- Orange Pi Zero pin reference and I²C notes (community): Armbian forum – pinout, I²C overlay discussion for Zero 2W/Zero 3
- General OS flashing: Prepare microSD