

Thistle Control Center

Grinn Setup

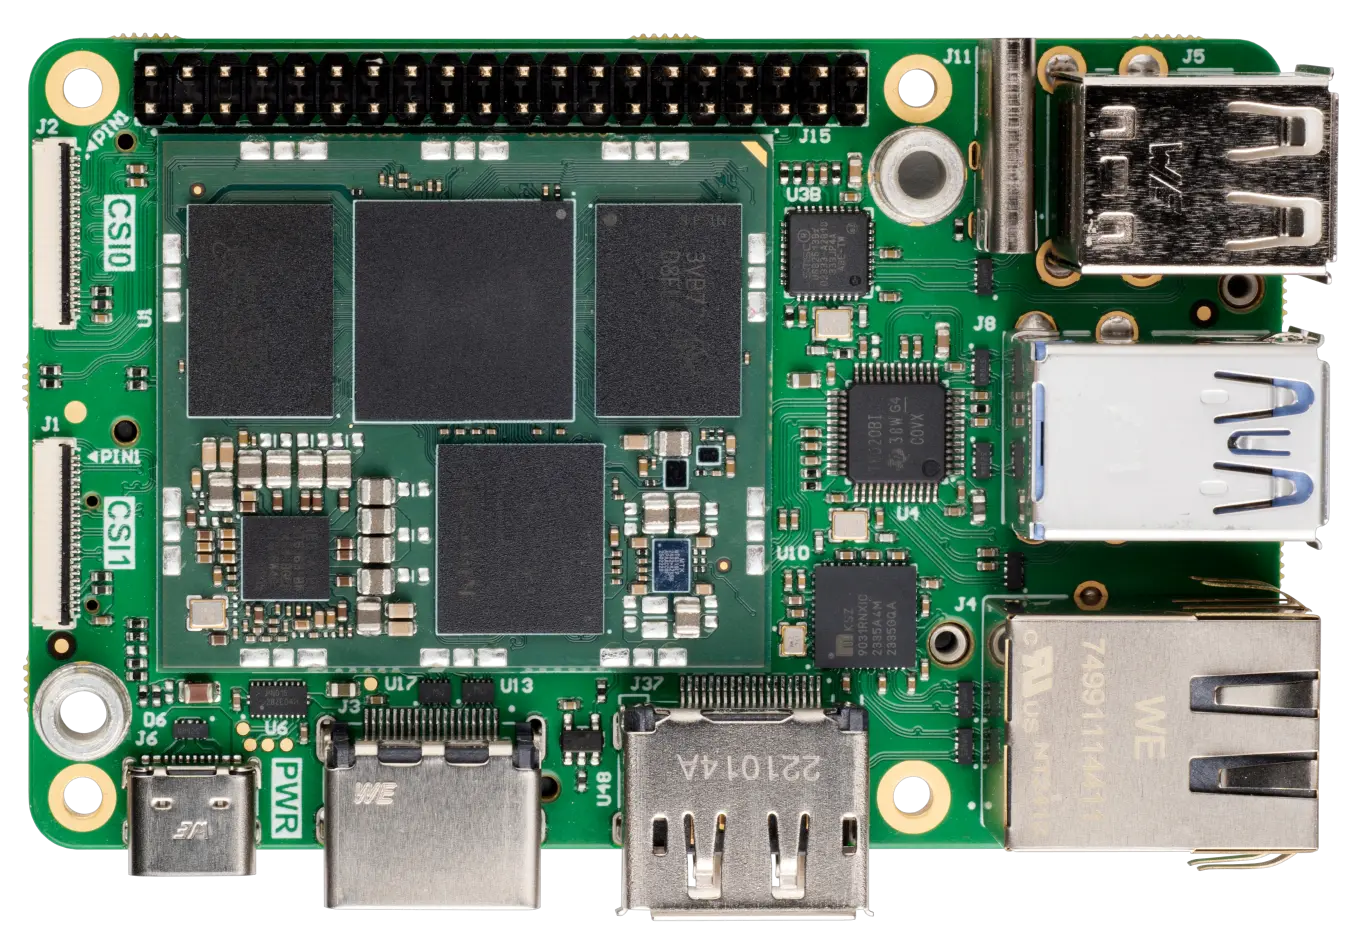
The board embeds an Infineon Trust M that is directly usable from the operating system. First we need to flash the latest version of the Operating system to the board. Refer to the documentation on the grinn documentation. We used the image rity-demo-image-grinn-genio-700-sbc-20250826144125. To flash the board, it needs to be powered on, and connected to the host computer through the debug USB port. The android tooling are also required for your platform. Finally, we had to rename the dialout group to uucp in all files, as our host system used uucp for serial access - but this step is optional and depends on your system

Flashing the board

First boot and Trust M setup

You shouls now be able to to connect on the board through the serial port emulated by the debug USB port. Note that the baudrate is 921600.
We can now proceed to install the Infineon Trust M tooling. Note that this now requires an internet connection on the board, feel free to connect it through ethernet or using an external USB wifi dongle.
We now need to create a symlink for the Trust M device. It’s connected by default to i2c-6, but the Infineon Tooling expects it to be at i2c-1.
To persist this symlink after reboot, create a udev rule that automatically creates it when the i2c-6 device is detected:
This udev rule will automatically create the /dev/i2c-1 symlink pointing to /dev/i2c-6 whenever the device is detected, ensuring it persists across reboots.

Public key writing

With the tooling installed, we can now write the public key used to verify OTA updates. You can find this key in the Thistle Control Center under your project’s Settings > Access > Releases > OTA Public Verification Key.

Update bundle creation and deployment

You can now create a release on the Thistle Control Center. Create a test release with any file so we can verify it using the Thistle Update Client (TUC). First, create a TUC configuration file. The device enrollment token can be found in the Thistle Control Center under your project’s Settings > Access > Project > Project Enrollment Token.
We can now run the update using the Thistle Update Client.