
Prerequisites
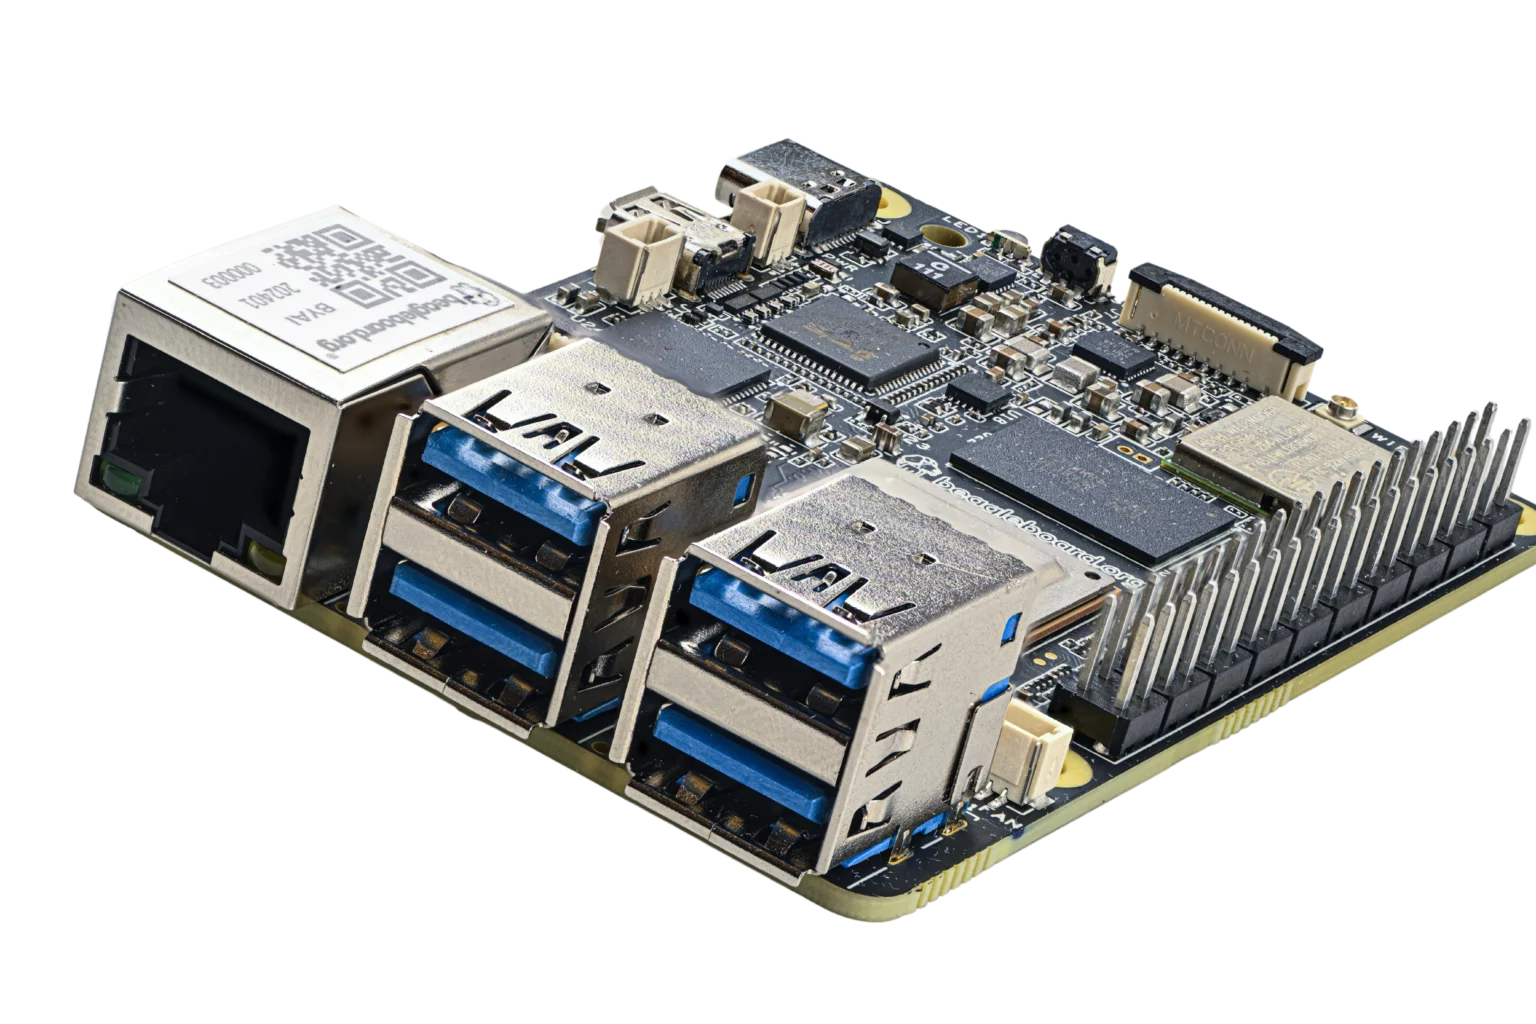
- BeagleY-AI board with power supply and necessary cables
- Infineon OPTIGA Trust M secure element (on breakout board)
- I²C wiring from Trust M to BeagleY-AI:
- SDA → GPIO 2 (Physical Pin 3)
- SCL → GPIO 3 (Physical Pin 5)
- 3.3V Power
- GND
- MicroSD card (8 GB or larger)
- BeagleY-AI OS image from BeagleBoard.org
- Thistle Control Center account with:
- A project
- A Linux Kernel Verified Boot key pair
- Host computer (Linux/macOS) with internet access
- (Optional) USB UART cable for serial console access
Step 1: Flash the OS
- Download the BeagleY-AI image.
-
Flash it to the SD card using
dd: - Insert the SD card into the BeagleY-AI and power it on.
- Log in if prompted (default credentials may vary).
Step 2: Sign the Kernel
-
Mount the boot partition from the SD card:
-
Copy the
Imagefile to your computer: -
In Thistle Control Center:
- Navigate to your project → Signed Firmware
- Click + Signed Firmware Bundle
- Select:
- Hardware: BeagleY-AI + OPTIGA Trust M
- Firmware Type: Linux Kernel Verified Boot
- Upload
Image
- Click Create
-
Download the resulting
kernel-sigfile.
Step 3: Program the Trust M
-
On the BeagleY-AI, download and unzip the Trust M tools:
-
Verify the Trust M:
-
Copy your public key from Thistle Control Center and save it as
project_pubkey.pem. -
Convert to Trust M format:
-
Write the public key to slot
0xE0E8: -
(Optional) Lock the slot:
Step 4: Install Thistle Boot Assets
-
Mount the SD card’s boot partition:
-
Backup existing boot files:
-
Download Thistle’s U-Boot and boot script:
-
Copy the
kernel-sigfile to the boot partition: -
Sync and unmount:
Step 5: Boot and Verify
- Insert the SD card into the BeagleY-AI and power it on.
- Use a serial console (115200 baud) to monitor the boot process.
- Look for messages indicating signature verification via Trust M.
- If valid, the kernel will boot normally.
- Log in and confirm the system is running with secure boot enabled.